FlexiPay
FlexiPay PRO Documentation
- How FlexiPay works?
- How to set up FlexiPay?
- How to add Credit Packs?
- How to add Promotional Links?
- How to change language?
How Flexipay Works
FlexiPay for WooCommerce simplifies online transactions by allowing customers to use tokens stored in their digital wallet. Key features include easy token integration, seamless wallet management, enhanced customer loyalty, and top-tier security. Customers can manage their token balance, view transaction history, and reload tokens as needed. FlexiPay aims to boost sales opportunities by encouraging impulsive buying decisions through its intuitive and user-friendly token system. Currently, FlexiPay integrates with PayPal. Customers purchase credits with PayPal by selecting a Credit Pack, which loads credits into their balance, allowing them to purchase in your store easily.
You want to suggest a new feature or need assistance. Let us know
How to set up FlexiPay?
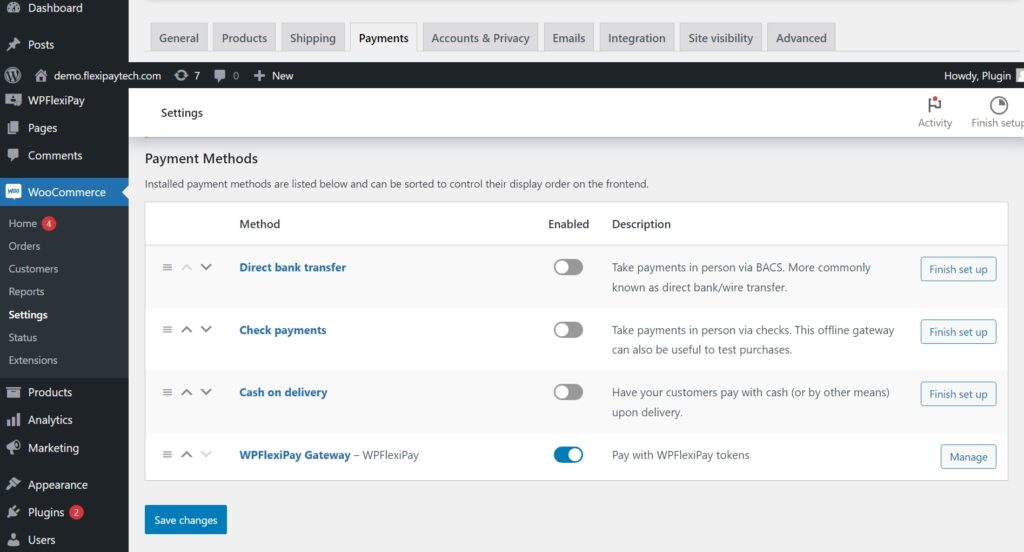
First upload the pllugin to your plugins folder in the wp dashboard. After activate it, go to the WooCommerce menu in your WP dashboard, then go to Settings > Payments > FlexiPay.
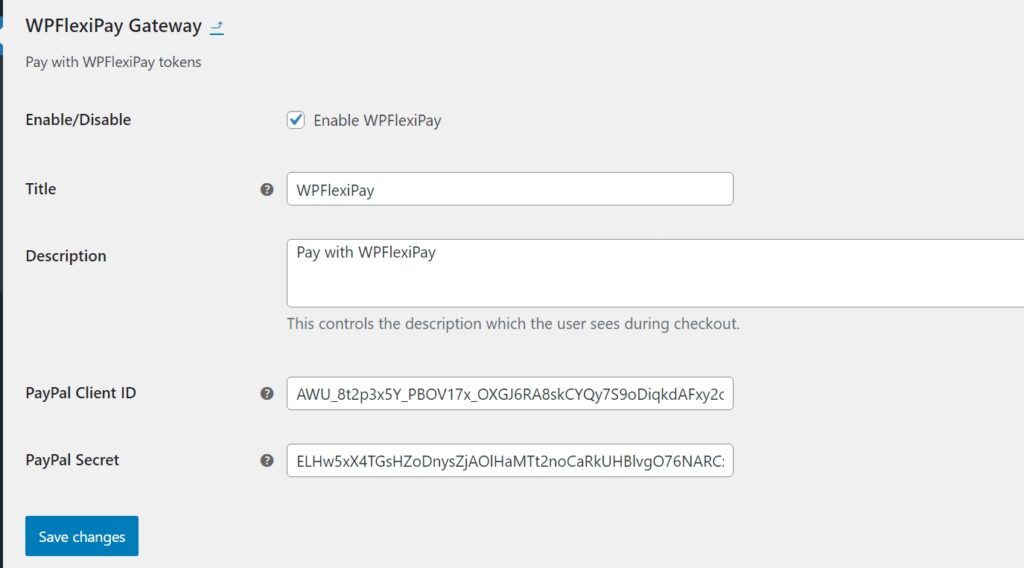
Enter your PayPal secret key and client ID in the corresponding fields.
Click “Save Settings” and you’ll be ready to start selling.
Add Packs in your WordPress Admin Dashboard
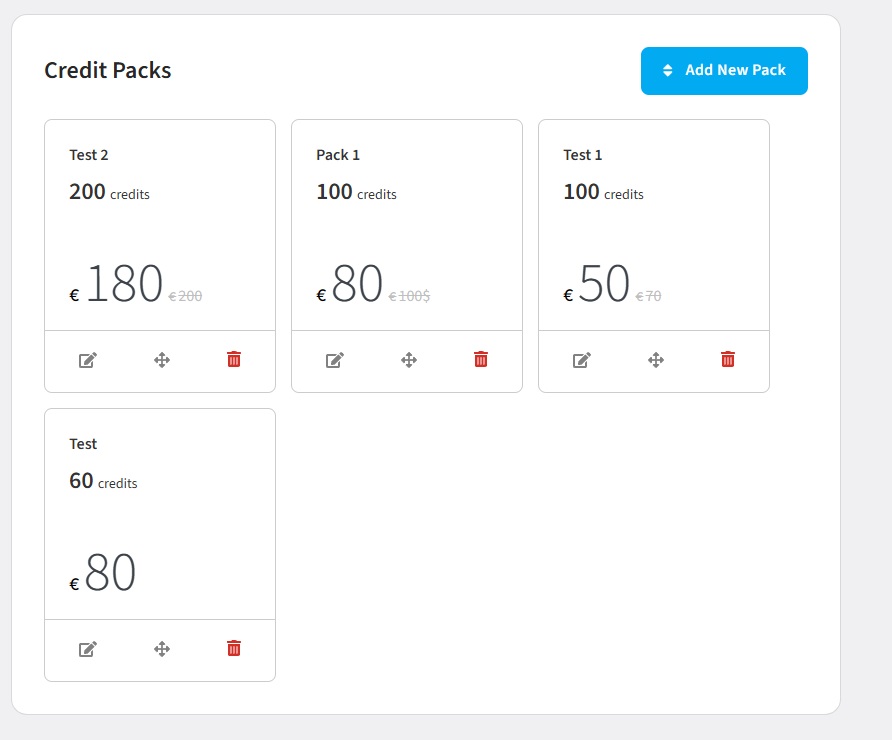
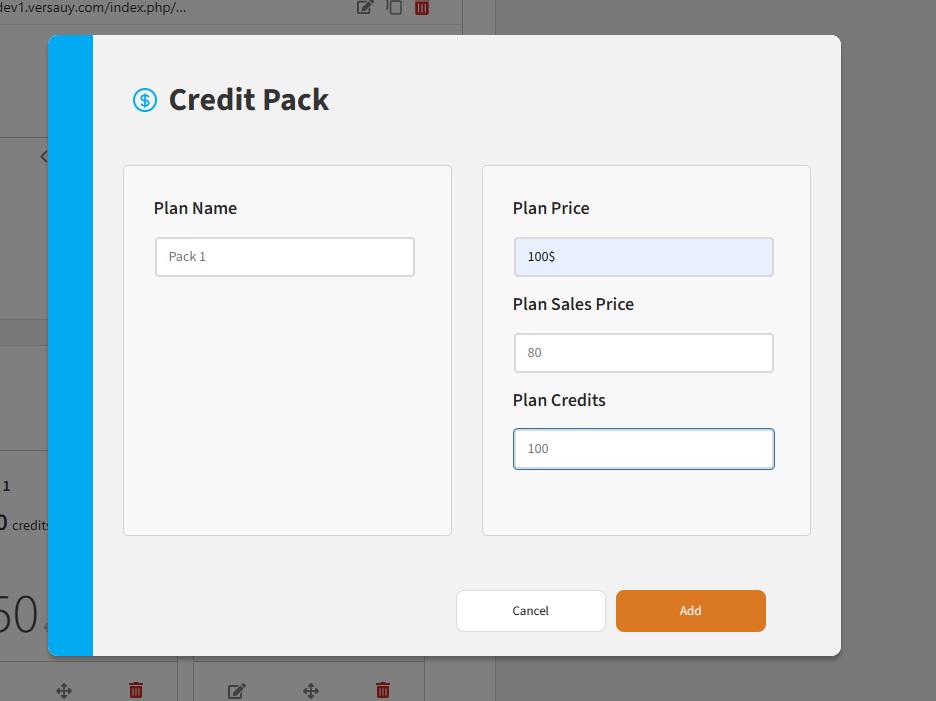
Go to your WordPress dashboard and click on FlexiPay tab menuThere, on Credit Packs tab click on “Add New Pack”
Once there add a Credit Pack Name, price, sales price (optional) and the amount of credits you want. Then click on Add and your plan should appear on your dashboard. You can edit and delete the packs whenever you want.
Add Promotional Links to your WordPress Admin Dashboard
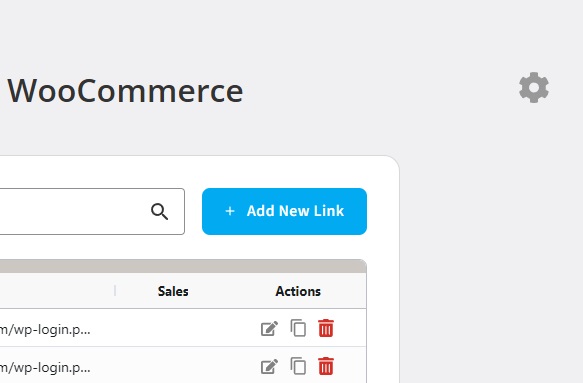
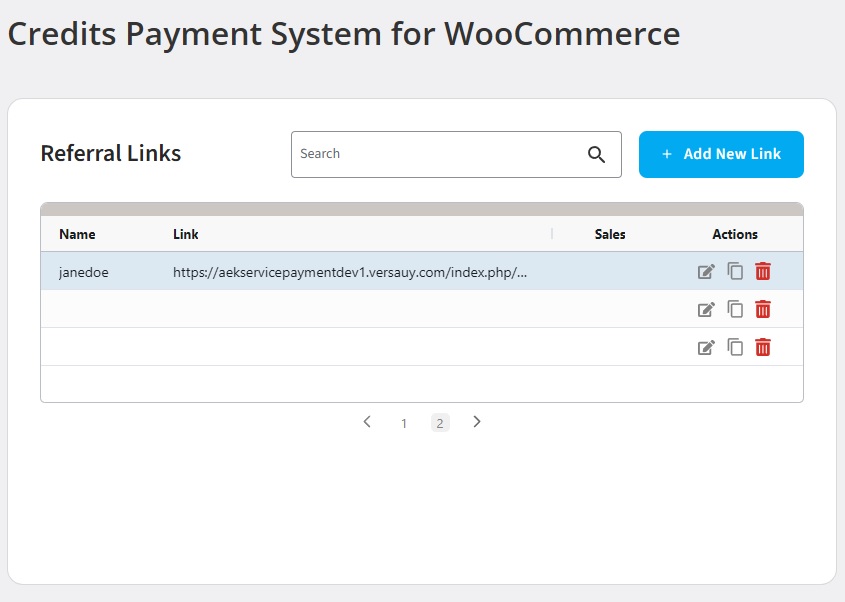
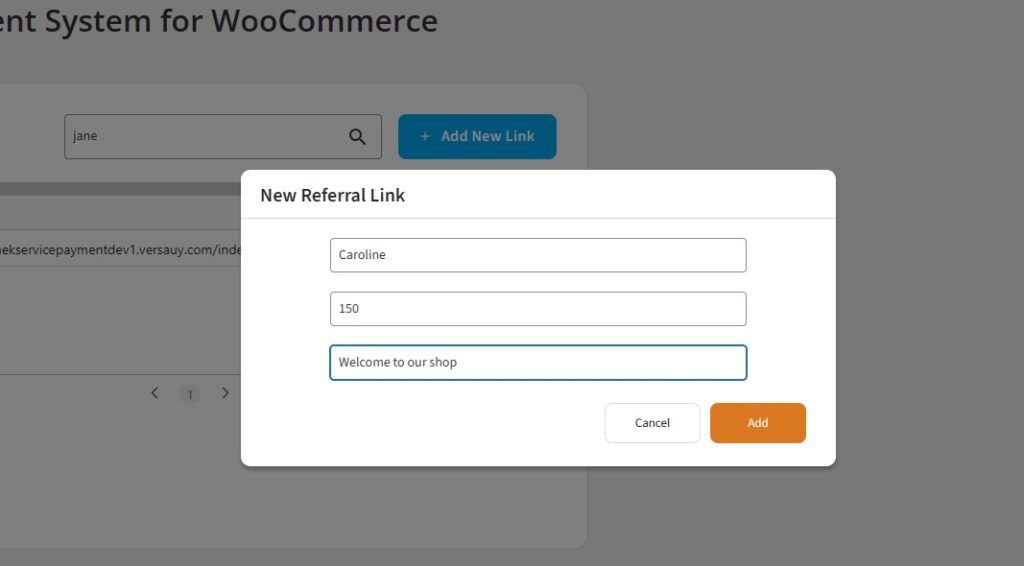
Go to your WordPress dashboard and click on the FlexiPay tab menu. There, on the Referral Links tab, click on “Add New Link.” Once there, add the name of the customer, the number of credits you want to give away, and a welcome message (optional). You can edit and delete the links whenever you want.
Change language for customers
Go to your WordPress dashboard and click on the FlexiPay tab menu. There click on the Cog icon on the upper right corner.
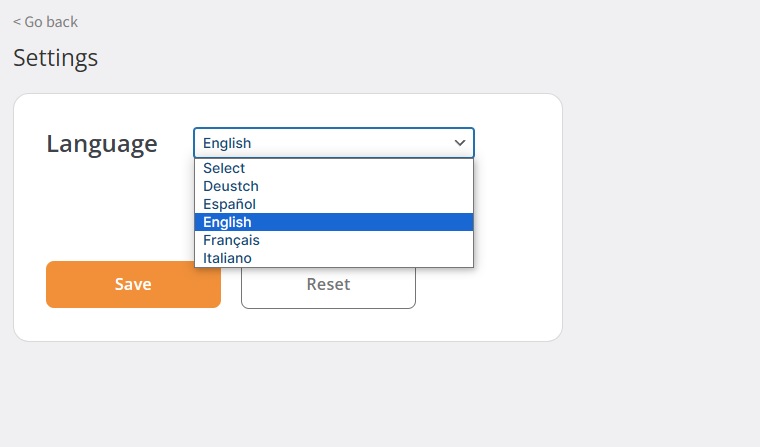
Select the desired language and save.
